So we talked about how to create stacks and columns in our last blog post (click here if you missed it) Let's take it to the next level and talk about how to use that technique and make the pattern move in your next basket design.
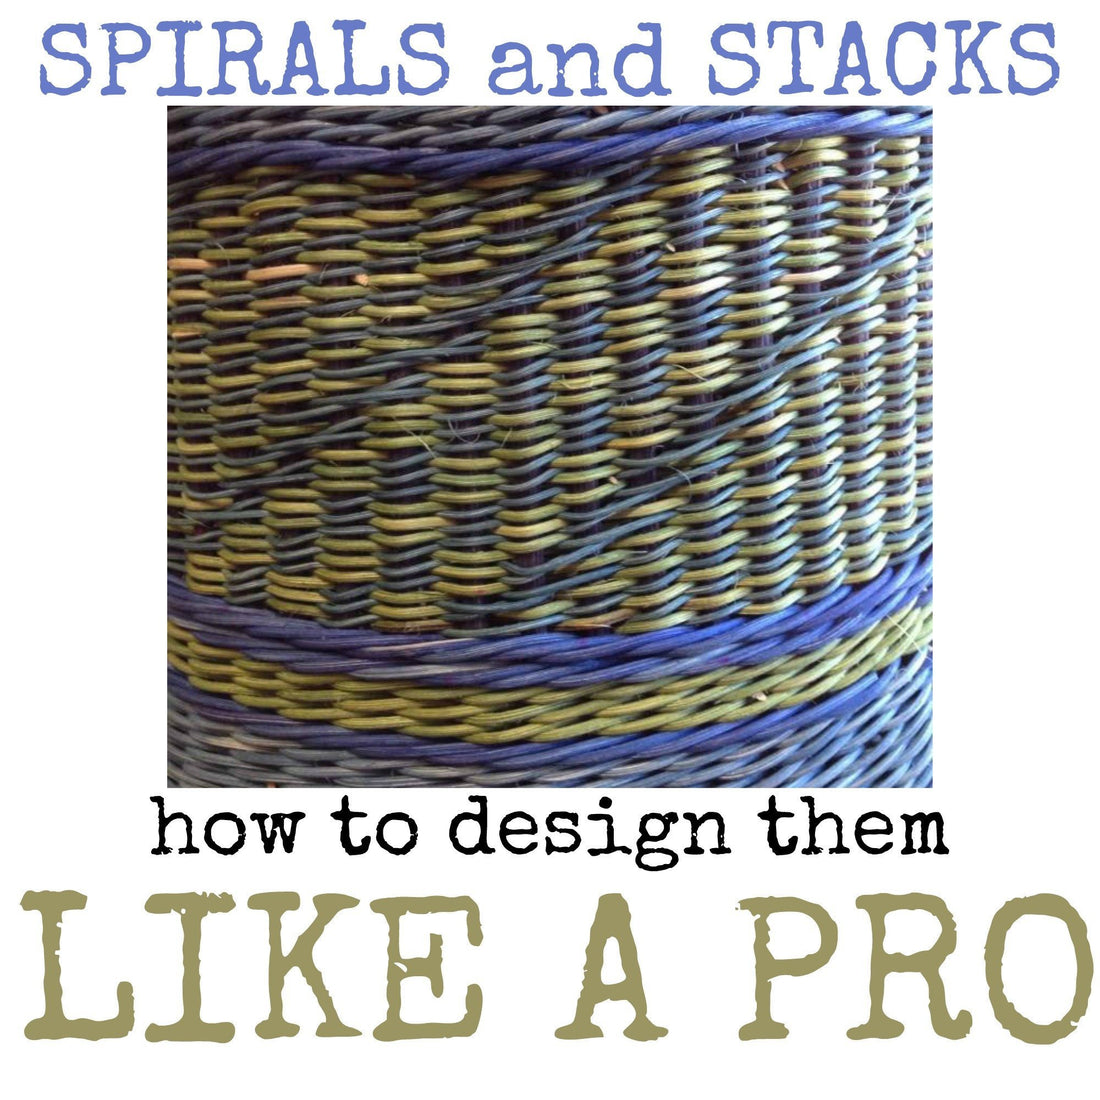
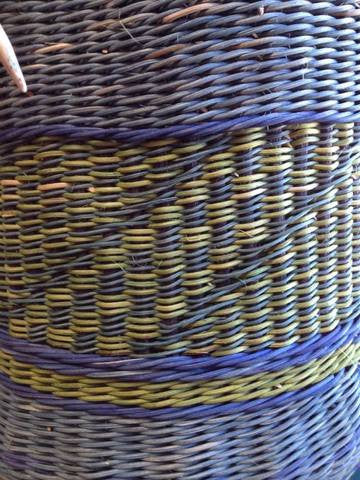
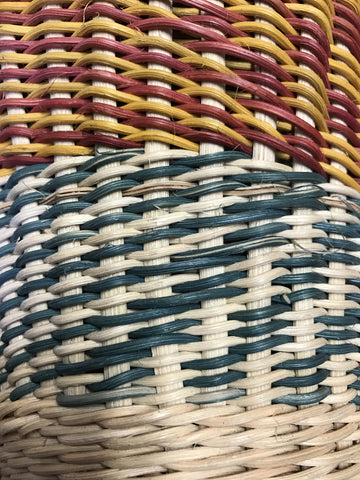
Spirals and Stacks: Above you can see the pattern that is made by a checkerboard that actually moves the right and in between that section the spiral section.
Once again it's all about the Math. In order for it to work you have to know how many stakes the pattern requires.
Let's use the Double Dog Leg as an example to walk us through the process. The design requires 43 stakes to accomplish. The design is composed of 14 stakes and with 43 stakes in the basket that gives us 3 repetitions of the design in the basket. (14 X 3 = 42). But wait, I said 43 stakes. That's correct, you have to add one additional spoke to the mix so that the design will spiral to the right if you are weaving right handed or left if you are weaving left handed.
Starting it out: Count TWICE to make sure you have the right amount of stakes. It will help you so much if you take the time to MAKE SURE you have the right amount of stakes required for the design.
Think in SETS not rows: This pattern is a result of three rows of weaving. So while your weaving away and counting think in terms of SETS not rows.
This design occurs as result of twining with 2 different colors. One light and one dark. MAKE SURE that the colors you choose CONTRAST or the colors will blend and you won't be able to see the pattern.
Begin with a DOUBLE OVER technique described in detail in the last blog entry COLUMNS and STACKS (click here to review) . It doesn't matter if you choose the DARK color or the LIGHT color for your DOUBLE OVERS but whatever color you choose make sure that EVERY time you make a double over in this pattern it's the same. If the color changes to the opposite think ERROR, ERROR, ERROR, time to rip out and find the mistake.
Continue with 5 single twines (nothing fancy just regular old in front of one, behind one).
Then a DOUBLE OVER, followed by 5 single twines. Pretty easy huh? Finish the 1st row of the 3 row pattern.
REMEMBER: you have an EXTRA stake right? That is the transitional stake that makes it possible for you to step over by one (or make the pattern move to the right) so that means on the last section you will be twining SIX stakes versus the FIVE in all the others.
The SECOND row of the FIRST set, is a FREEBIE row and requires no thinking on your part. Now that's nice isn't it? It's ALL SINGLE twining. Yee-haw!
The THIRD row of the FIRST set, is the EXACT DUPLICATE of the first row. So it's like someone already laid out the pattern and all you have to do is follow it.
SUCCESS the first SET of the FIVE sets REQUIRED are completed! Happy dance!
Each of the succeeding sets will move over by one. It's easy to see that this is being completed when you check to see that the DOUBLE OVERS are actually started in the MIDDLE of the double over on the FIRST ROW of the SECOND set. Continue rows one through three as described above for the SECOND SET and continue on for as many SETS as required.

2 comments
Thank you for the instructions, still trying to get this profected.
Thanks so much for your instructions. I learn something new every time you post!