A Primer on Ribbed Baskets Vol. 2: Stripes and Turn backs
Share
That last set of ribs (in theory):
Once again we're back to adding ribs but hopefully for the last time in your basket. Depending on what you started with with the first set (usuallly 6 - 3 on each side of the handle), then on to 12 ribs, and finishing with about 24 ribs. With that said every basket is different as are the size of the rib material and may need some more but you get the idea.
Once inserted remember to NOT weave all those doubles into singles right away. Give them two rows of weaving to set them well THEN weave into singles with 2 mores rows of weaving.
Putting a stripe down the center of the basket:
When ALL the ribs are woven into each side of the basket it's time to solidify things a bit by weaving down the center of the basket. Take a LONG weaver and center it under the handle at the bottom of the basket. Take the right side of the weaver and weave it to the right side of the bottom of the basket. Take the left side of the weaver and weave it to the left side of the bottom of the basket. You 'll want to weave about 2" to 3" of weave.
WHY do this? When you weave the bottom of the basket it does a couple of things. First, it makes sure that the bottom of your basket is straight across from the rim, to the bottom of the basket, to the other rim. This is what you'll want to achieve with the weaving on the sides using a technique called filling (also called packing or turnbacks), we'll get to this in a minute. The second thing it does is flatten the bottom of your basket so if there is any problems with the length in any of the ribs it will show up. Time to adjust your ribs if required.
Adjusting ribs that need to be shorter:
For adjusting ribs you'll need an awl. Not just any fat, stubby, awl but a long tapered one (think ice pick).
What happens when a rib is pulled out from the weave in the basket when the weaver is wet and an awl is NOT used to hold it in place. The weave - un weaves. Then trying to get the newly adjusted rib back into the correct weave is a messy job. This is something you want to avoid.
There's a couple ways of going about it. First off a DRY basket is a lot easier to make adjustments on. If you can wait overnight and then make the adjustments. The weaver has dried and will hold in place while you adjust the ribs and replace them. This is great in theory but I'm weaving here and don't have time to wait til it dries.
The second method is to use the awl in place of the rib. That means, take the rib out quickly replace it with the awl to hold the weave. Make the adjustment on the rib (cut) and then thread it back down the awl that is holding the weave. Much easier!
Remember that water is glue in a basket. If it's really wet from weaving trying to take ribs out is difficult especially if they are one of the beginning ribs of the basket.
Try to make adjustments early in the basket when you see they are going to be a problem. Don't wait and think it will get better - like in so many other things... it doesn't.
How about ribs that need to be longer NOT shorter? When dry, GENTLY pull them out a little bit. Make sure you don't pull them out of the weave of the basket. If they need that much adjustment replace the entire rib.
REMEMBER: to keep the weave even on your basket as you work on it. If you do one inch of weave on one side of the basket, stop, and do the same amount of work on the other side. Failure to do so makes for a distorted shape in the basket.
Turn backs:
Looking at the sides of the basket you'll see that you have a half circle of weaving. If you would continue to weave in this manner (rim to rim) the top would meet up with the weave from the other side and you would end up with an hour glass of open weave on the sides of the basket. NOT what you want.
In order to "square" up the corners of the weave to lengthen this circle into a rectangle a technique called turn backs is used.
Why use turn backs? Turn backs enable you to fill in an area and not leave holes in the basket when you do so.
Turn backs are a continuous filling method through out the rest of the basket until both sides meet the stripe of weaving down the center of the basket.
Turn Back Rules:
Turn back on every OTHER rib.
Make sure your turn backs are on TOP of a rib NOT under a rib.
Turn to the INSIDE of the basket not the outside.
Never turn twice on any ONE SINGLE RIB. Unless you've gone past it with a single weave to the rim. Then your slate is clean and you can start filling with turn backs again.
Breaking it down:
On the basket above I'm beginning to square up my corners. Counting from the bottom of the handle (wide rib) you can see that my first turn back was on rib no. 4. on TOP of that rib and back to the rib right before the rim.
I continued this process on rib no 6 and rib no 8 to square up that corner. I would continue down to the rim when completed and then woven over to the other side of the basket and began filling in that corner.
How to check on it:
Take a look at the basket from the inside. How close is the weave to being straight across from the point of the weave to the rim? Think about taking a pizza slice and making it into a half a pizza. That's what this technique does and a great way to see what needs to be done is to look at the inside from above.


1 comment
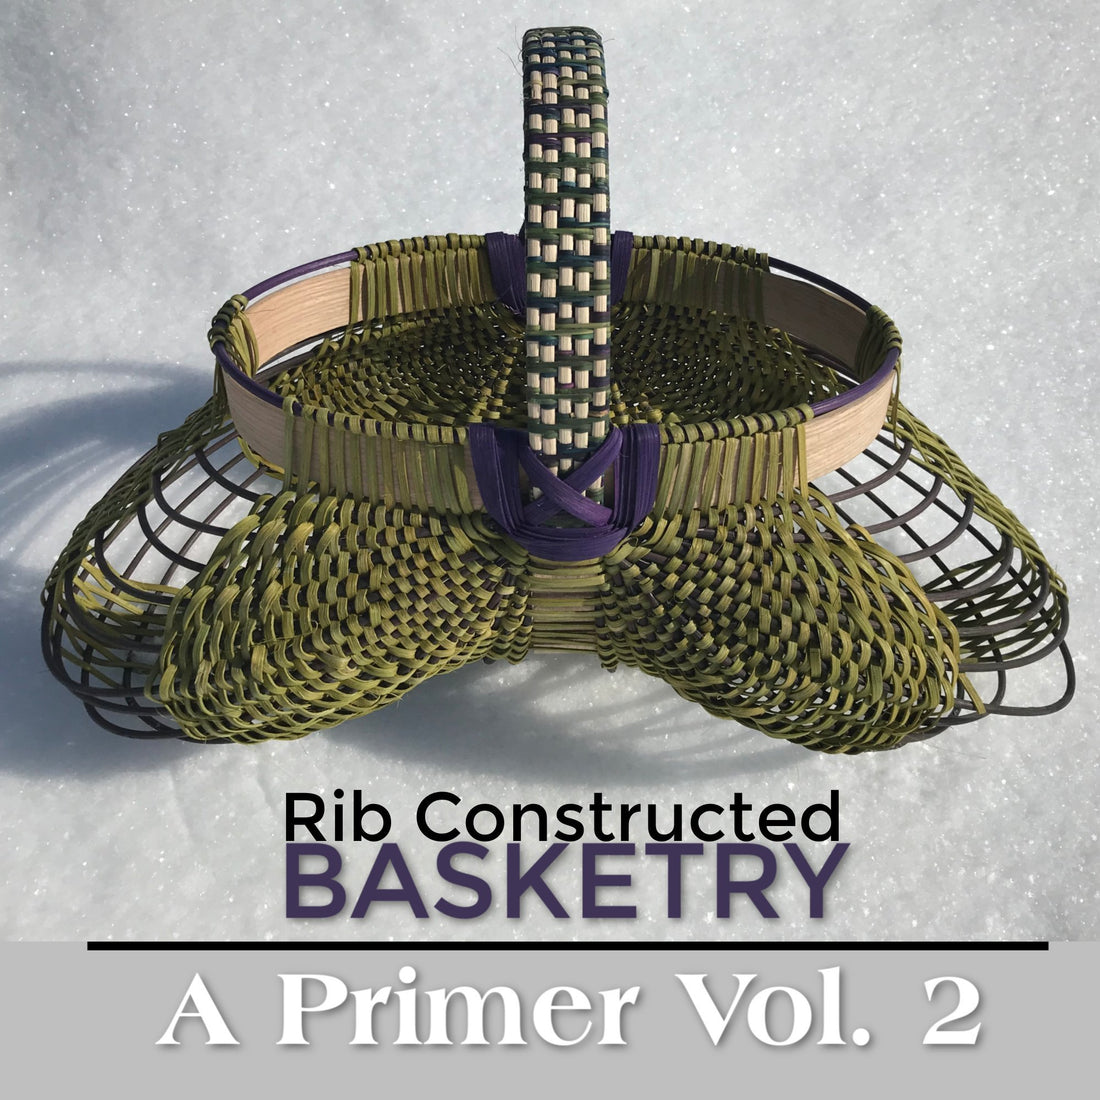
What is the name of the green basket pictured with your primer on rib basket blog?
Is there a kit ?